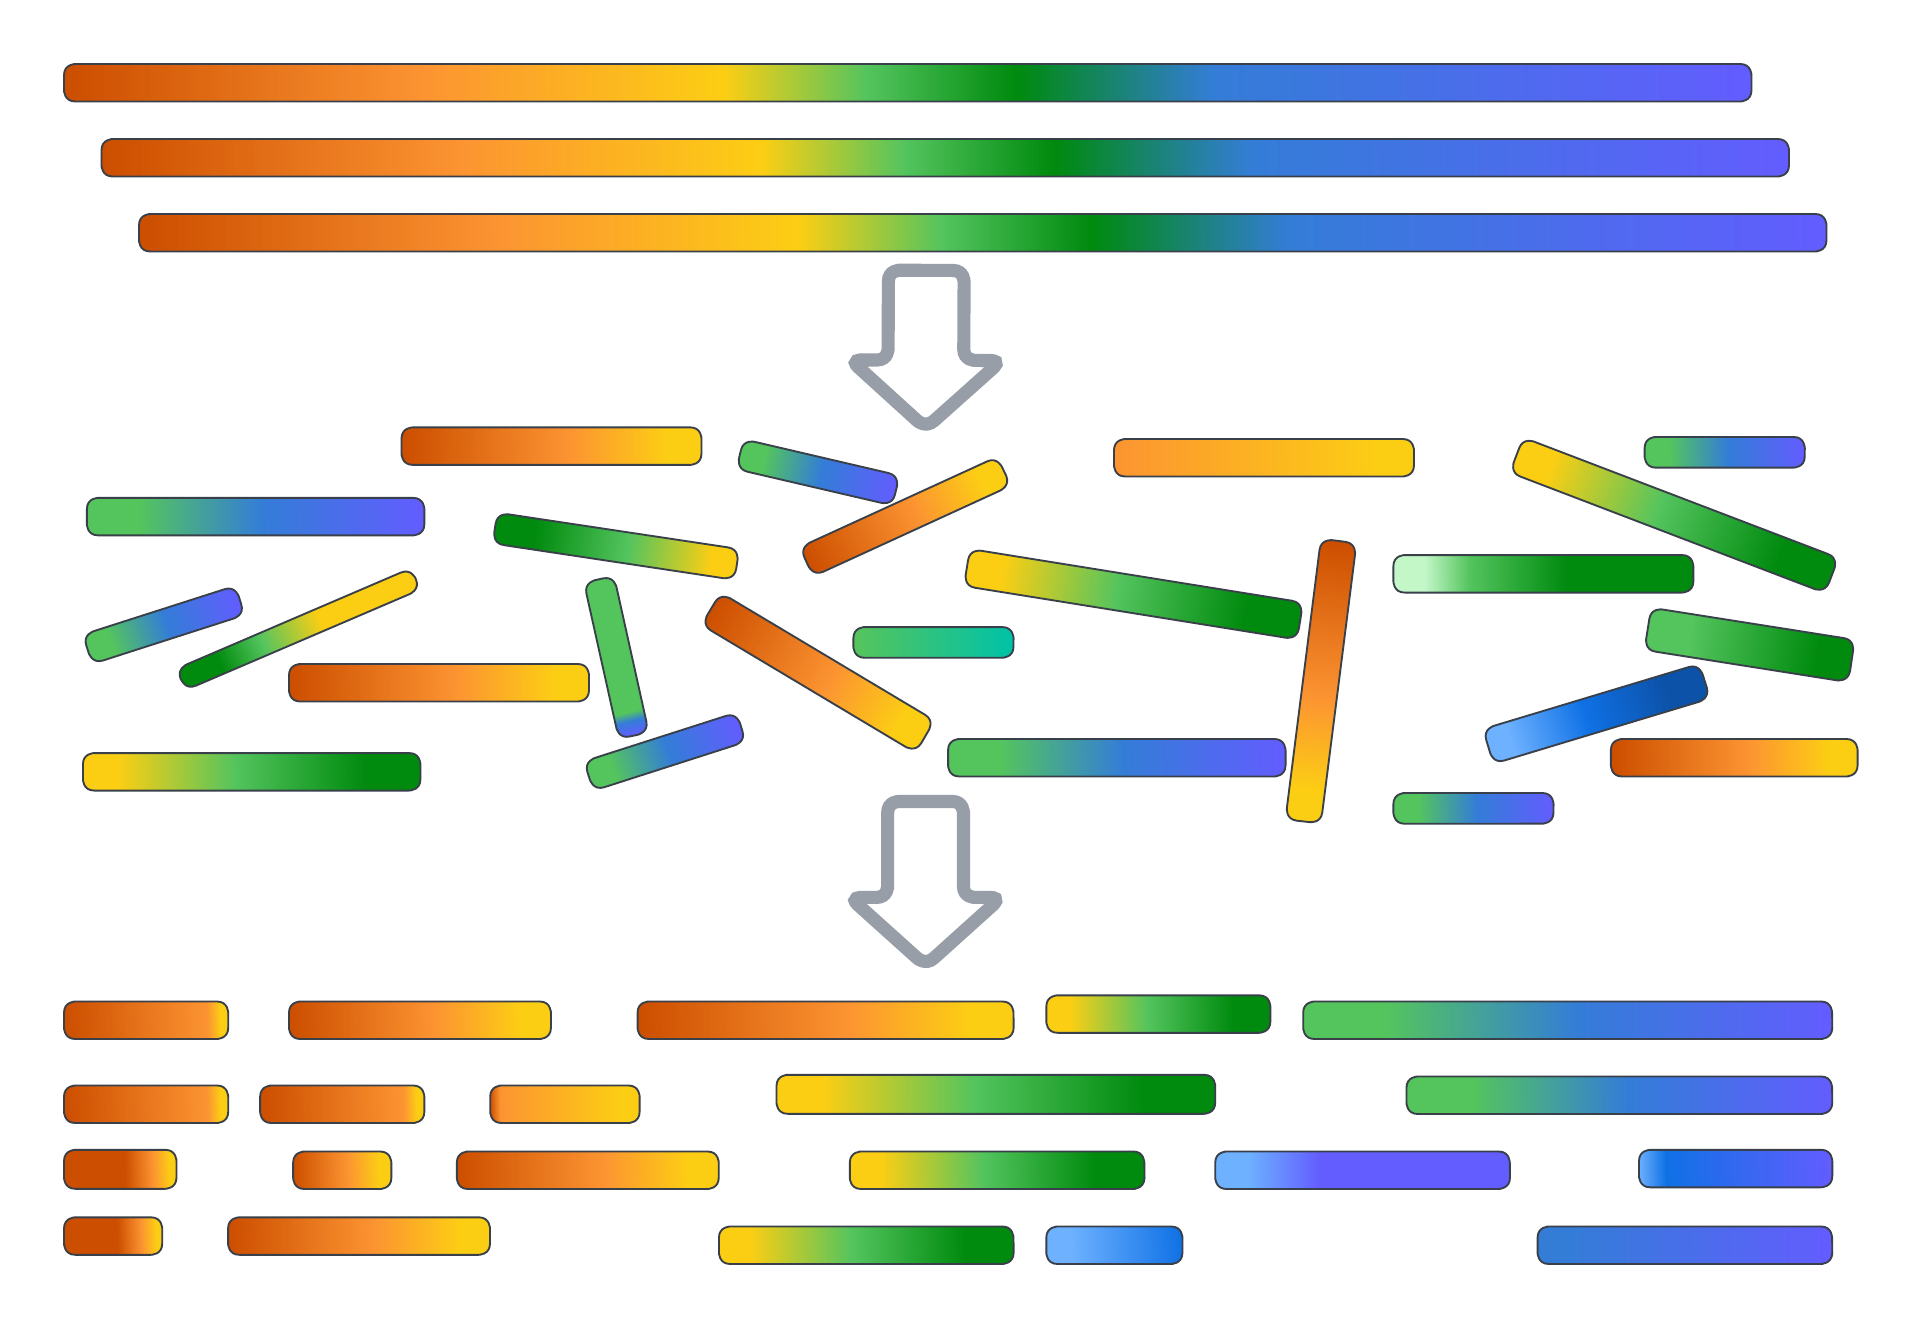
Assembly I: Assembling contigs
Objectives
All work for this exercise will occur in the 3.assembly/ directory.
The standard input files for SPAdes and IDBA-UD
Although they both make use of the same types of data, both SPAdes and IDBA-UD have their own preferences for how sequence data is provided to them. To begin, we will look at the types of data accepted by SPAdes:
Remember to update <YOUR FOLDER> to your own folder
Load SPAdes and check parameters
SPAdes parameters
...
Input data:
  --12 <filename>             file with interlaced forward and reverse paired-end reads
  -1 <filename>               file with forward paired-end reads
  -2 <filename>               file with reverse paired-end reads
  -s <filename>               file with unpaired reads
  --merged <filename>         file with merged forward and reverse paired-end reads
  --pe-12 <#> <filename>      file with interlaced reads for paired-end library number <#>.
                              Older deprecated syntax is -pe<#>-12 <filename>
  --pe-1 <#> <filename>       file with forward reads for paired-end library number <#>.
                              Older deprecated syntax is -pe<#>-1 <filename>
  --pe-2 <#> <filename>       file with reverse reads for paired-end library number <#>.
                              Older deprecated syntax is -pe<#>-2 <filename>
  --pe-s <#> <filename>       file with unpaired reads for paired-end library number <#>.
                              Older deprecated syntax is -pe<#>-s <filename>
  --pe-m <#> <filename>       file with merged reads for paired-end library number <#>.
                              Older deprecated syntax is -pe<#>-m <filename>
  --pe-or <#> <or>            orientation of reads for paired-end library number <#>
                              (<or> = fr, rf, ff).
                              Older deprecated syntax is -pe<#>-<or>
  --s <#> <filename>          file with unpaired reads for single reads library number <#>.
                              Older deprecated syntax is --s<#> <filename>
  --mp-12 <#> <filename>      file with interlaced reads for mate-pair library number <#>.
                              Older deprecated syntax is -mp<#>-12 <filename>
  --mp-1 <#> <filename>       file with forward reads for mate-pair library number <#>.
                              Older deprecated syntax is -mp<#>-1 <filename>
  --mp-2 <#> <filename>       file with reverse reads for mate-pair library number <#>.
                              Older deprecated syntax is -mp<#>-2 <filename>
  --mp-s <#> <filename>       file with unpaired reads for mate-pair library number <#>.
                              Older deprecated syntax is -mp<#>-s <filename>
  --mp-or <#> <or>            orientation of reads for mate-pair library number <#>
                              (<or> = fr, rf, ff).
                              Older deprecated syntax is -mp<#>-<or>
  --hqmp-12 <#> <filename>    file with interlaced reads for high-quality mate-pair library number <#>.
                              Older deprecated syntax is -hqmp<#>-12 <filename>
  --hqmp-1 <#> <filename>     file with forward reads for high-quality mate-pair library number <#>.
                              Older deprecated syntax is -hqmp<#>-1 <filename>
  --hqmp-2 <#> <filename>     file with reverse reads for high-quality mate-pair library number <#>.
                              Older deprecated syntax is -hqmp<#>-2 <filename>
  --hqmp-s <#> <filename>     file with unpaired reads for high-quality mate-pair library number <#>.
                              Older deprecated syntax is -hqmp<#>-s <filename>
  --hqmp-or <#> <or>          orientation of reads for high-quality mate-pair library number <#>
                              (<or> = fr, rf, ff).
                              Older deprecated syntax is -hqmp<#>-<or>
  --sanger <filename>         file with Sanger reads
  --pacbio <filename>         file with PacBio reads
  --nanopore <filename>       file with Nanopore reads
  --trusted-contigs <filename>
                              file with trusted contigs
  --untrusted-contigs <filename>
                              file with untrusted contigs
...
At a glance, you could provide any of the following data types to SPAdes and have it perform an assembly:
- Illumina paired-end sequencing data, either as standard library or Mate Pairs
- Sanger sequences
- PacBio reads
- Oxford Nanopore reads
- Pre-assembled scaffolds for guiding the assembly
Awkwardly, while SPAdes accepts multiple input libraries (i.e. samples) in a single assembly, this behaviour does not work with the -meta flag enabled, which is needed in our example to activate metagenome assembly mode. We therefore need to concatenate our four individual samples together ready for sequencing.
Concatenate samples by read direction
Note that these FASTQ files are compressed, yet we can concatenate them together with the cat command regardless. This is a nice feature of .gz files that is handy to remember.
By contrast, what does IDBA-UD accept?
Load IDBA-UD and check parameters
IDBA-UD parameters
  -o, --out arg (=out)                   output directory
  -r, --read arg                         fasta read file (<=128)
      --read_level_2 arg                 paired-end reads fasta for second level scaffolds
      --read_level_3 arg                 paired-end reads fasta for third level scaffolds
      --read_level_4 arg                 paired-end reads fasta for fourth level scaffolds
      --read_level_5 arg                 paired-end reads fasta for fifth level scaffolds
  -l, --long_read arg                    fasta long read file (>128)
      --mink arg (=20)                   minimum k value (<=124)
      --maxk arg (=100)                  maximum k value (<=124)
      --step arg (=20)                   increment of k-mer of each iteration
      --inner_mink arg (=10)             inner minimum k value
      --inner_step arg (=5)              inner increment of k-mer
      --prefix arg (=3)                  prefix length used to build sub k-mer table
      --min_count arg (=2)               minimum multiplicity for filtering k-mer when building the graph
      --min_support arg (=1)             minimum supoort in each iteration
      --num_threads arg (=0)             number of threads
      --seed_kmer arg (=30)              seed kmer size for alignment
      --min_contig arg (=200)            minimum size of contig
      --similar arg (=0.95)              similarity for alignment
      --max_mismatch arg (=3)            max mismatch of error correction
      --min_pairs arg (=3)               minimum number of pairs
      --no_bubble                        do not merge bubble
      --no_local                         do not use local assembly
      --no_coverage                      do not iterate on coverage
      --no_correct                       do not do correction
      --pre_correction                   perform pre-correction before assembly
'Short' or 'long' reads, and only a single file for each. This means that if we want to assemble our community data using IDBA-UD we will need to pool the paired-end data into a single, interleaved FASTA file. Interleaved means that instead of having a pair of files that contain the separate forward and reverse sequences, the read pairs are in a single file in alternating order. For example
# Paired-end file, forward
>read1_1
...
>read2_1
...

# Paired-end file, reverse
>read1_2
...
>read2_2
...

# Interleaved file
>read1_1
...
>read1_2
...
>read2_1
...
>read2_2
...
Fortunately, the IDBA set of tools comes with some helper scripts to achieve just this. Unfortunately we cannot apply this shuffling operation to compressed data, so we must decompress the data first.
Decompress, interleave, and then concatenate sequence files
Basic assembly parameters
For any assembler, there are a lot of parameters that can be fine-tuned depending on your data. As no two data sets are the same, it is almost impossible to predict which parameter combinations will yield the best outcome for your dataset. That said, an assembly can be quite a resource-intensive process and it is generally not practical to test every permutation of parameter values with your data. In genomics, the saying goes that the best assembly is the one that answers your question. As long as the data you are receiving is meaningful to the hypothesis you are seeking to address, then your assembly is as good as it needs to be.
Generally speaking, assemblers are developed in a way where they run with default parameters that have been empirically demonstrated to produce the best outcome on average across multiple data sets. For most purposes, there is not a lot of need to change these, but some parameters that we would always want to look at include:
- k-mer sizes to be assembled over, and step size if using a range
- Number of threads to use during assembly
- Memory limit to prevent the assembler from using up all available RAM and forcing the computer to use its swap space
Setting the k-mer size
Depending on which assembler you are using, the commands for choosing the k-mer sizes for the assembly vary slightly, but they are recognisable between programs. In SPAdes, you can set the k-mer size using either
The first command lets us specify the k-mers ourselves, or we are letting SPAdes automatically pick the most appropriate size. For IDBA-UD, we can select the k-mer size using
Unlike SPAdes, we do not have fine-scale control over the k-mer sizes used in the assembly. We instead provide IDBA-UD with the first and last k-mer size to use, then specify the increment to use between these. In either case, it is important that we are always assembling using a k-mer of odd lengths in order to avoid the creation of palindromic k-mers.
Specifying the number of threads
This is simple in either assembler:
The only thing to keep in mind is that these tools have different default behaviour. If no thread count is specified by the user, SPAdes will assemble with 16 threads. IDBA-UD will use all available threads, which can be problematic if you are using a shared compute environment that does not use a resource management system like slurm.
Setting a memory limit
By far, the worst feature of SPAdes is the high memory requirement for performing an assembly. In the absence of monitoring, SPAdes will request more and more memory as it proceeds. If this requires more memory than is available on your computer, your system will start to store memory to disk space. This is an extremely slow operation and can render your computer effectively unusable. In managed environments such as NeSI a memory limit is imposed upon all running jobs, but if you are not using such a system you are advised to set a memory limit when executing SPAdes:
No such parameter exists in IDBA-UD, but it requires far less RAM than SPAdes, so you are less likely to need it.
Preparing an assembly job for slurm
NeSI does not allow users to execute large jobs interactively on the terminal. Instead, the node that we have logged in to (lander02) has only a small fraction of the computing resources that NeSI houses. The lander node is used to write small command scripts, which are then deployed to the large compute nodes by a system called slurm. The ins and outs of working in slurm are well beyond the scope of this workshop (and may not be relevant if your institution uses a different resource allocation system). In this workshop, we will therefore only be showing you how to write minimal slurm scripts sufficient to achieve our goals. By the end of the workshop, you should have built up a small collection of slurm scripts for performing the necessary stages of our workflow and with experience you will be able to modify these to suit your own needs.
Submitting a SPAdes job to NeSI using slurm
To begin, we need to open a text file using the nano text editor.
Into this file, either write or copy/paste the following commands:
Warning
Paste or type in the following. Remember to update <YOUR FOLDER> to your own directory.
code
To save your file, use Ctrl + O to save the file, then Ctrl + X to exit nano. Going through those lines one by one:
Slurm parameters and their functions
| Parameter | Description |
|---|---|
#!/bin/bash -e |
Header for the file, letting NeSI know how to interpret the following commands. The -e flag means that the slurm run will halt at the first failed command (rather than pushing through and trying to execute subsequent ones) |
--account |
The name of the project account to run the job under. You are provided with this when you create a project on NeSI |
--job-name |
The name of the job, to display when using the squeue command |
--partition |
This is a parameter that enables us to access the milan nodes (think of a node as a single computer within the cluster) where resources are reserved for this workshop |
--time |
Maximum run time for the job before it is killed |
--mem |
Amount of server memory to allocate to the job. If this is exceeded, the job will be terminated |
--cpus-per-task |
number of processing cores to assign to the job. This should match with the number used by your assembler |
--error |
File to log the standard error stream of the program. This is typically used to prove error reports, or to just inform the user of job progress |
--output |
File to log the standard output stream of the program. This is typically used to inform the user of job progress and supply messages |
The module load command needs to be invoked within your slurm script. It is also a good idea to explicitly set the path to your files within the job so that
- There is no chance of having the job fail immediately because it cannot find the relevant files
- When looking back through your slurm logs, you know where the data is meant to be
SPAdes parameters of note
| Parameter | Description |
|---|---|
--meta |
Activate metagenome assembly mode. Default is to assemble your metagenome using single genome assembly assumptions |
-k |
k-mer sizes for assembly. These choices will provide the output we will use in the Binning session, but feel free to experiment with these to see if you can improve the assembly |
-t |
Number of threads (see above). Here, we use a special slurm environment variable: $SLURM_CPUS_PER_TASK to tell the programme to use the same number of threads allocated for this job via --cpus-per-task. |
-1 |
Forward reads, matched to their reverse partners |
-2 |
Reverse reads, matched to their forward partners |
-o |
Output directory for all files |
We don't explicitly set memory for this job, simply for the sake of keeping the command uncluttered. The default memory limit of SPAdes (250 GB) is much higher than the 10 GB we have allowed our job here. If the memory cap was violated then both slurm and SPAdes will terminate the assembly. We did specify the number of threads at the value of 12, which is specified by the special slurm variable $SLURM_CPUS_PER_TASK.
It is a good idea to match your number of threads request in the slurm script with what you intend to use with SPAdes because your project usage is calculated based off what you request in your slurm scripts rather than what you actually use. Requesting many unused threads simply drives your project down the priority queue. By contrast, requesting fewer threads than you attempt to use in the program (i.e., request 10 in slurm, set thread count to 30 in SPAdes) will result in reduced performance, as your SPAdes job will divide up jobs as though it has 30 threads, but only 10 will be provided. This is discussed in this blog post.
Once you are happy with your slurm script, execute the job by navigating to the location of your script and entering the command
You will receive a message telling you the job identifier for your assembly. Record this number, as we will use it in the next exercise.
Monitoring job progress
You can view the status of your current jobs using the command
Terminal output
We can see here that the job has not yet begun, as NeSI is waiting for resources to come available. At this stage the START_TIME is an estimation of when the resources are expected to become available. When they do, the output will change to
Terminal output
Which allows us to track how far into our run we are, and see the remaining time for the job. The START_TIME column now reports the time the job actually began.
Submitting an IDBA-UD job to NeSI using slurm
Create a new slurm script using nano to run an equivalent assembly with IDBA-UD
Paste or type in the following:
code
When your job starts running, files with suffixes .err and .out will be created in the directory from where you submitted your job. These files will have have your job name and job identification number as file names.