Git Overview
What is Git/Github and why do I want to use it?
Git is a version control system. It lets you track changes to your code and documents over time, so you can:
- Organise your work: keep your research projects, analysis scripts, and data files tidy and structured.
- Track changes: see what was added, removed, or modified, and go back to previous versions if something breaks.
- Collaborate safely: multiple people can work on the same project without overwriting each other’s work.
GitHub is a cloud-based platform that works with Git. It lets you:
- Share your projects with others, or download packages and code that other researchers have shared.
- Collaborate on code and projects with colleagues or contributors around the world.
- Create webpages and reports using tools like Quarto (we’ll cover this in part two of the workshop).
- Host and publish your work online, making it easier to share and document your research reproducibly.
In short: Git keeps your work organised and versioned on your local computer, and GitHub lets you back it up, share it, and collaborate with others online.
- The Kākāpō genome project, with all the scripts and workflows needed for the genome assembly.
- The website for the Genomics Aotearoa Bioinformatics Training Programme is hosted on github, written in Quarto and displayed using github pages.
- A curated list of awesome ggplot2 packages
Setup on local machine
We will run everything locally in RStudio. If you are confident using the command line, you could also use any command line shell you like instead (e.g., Terminal (macOS), GitBash for Windows, Visual Studio Code). Please have the following installed before the workshop.
If you already have these tools installed, make sure they are up to date.
1. Install the latest version of R
- Mac: Download
.pkginstaller here
- Windows: Download
.exeinstaller here
- Linux: Instructions here
Note: Do not use
.tar.gzsource files unless you want to compile R from source.
2. Install the latest version of RStudio
3. Install Git
Git is a separate program from R/RStudio.
MacOS:
Check if Git is already installed. Open Terminal and run:
git --versionIf you get a version number as an output, you are good to go.
Note: If it is not already installed, follow instructions here for macOS
This message means Xcode Command Line Tools aren’t installed on your Mac. Many tools (like git, compilers, make, etc.) depend on them.
Fix this by running the following in Terminal:
xcode-select --installTo verify it worked:
xcode-select -p
# Should output something like: /Library/Developer/CommandLineTools
Alternatively, XCode Command Line Tools can be installed using Homebrew
Windows:
Follow the “Installing Git for Windows” instructions here on the software carpentry page (Instructions may be hiding under “The Bash Shell” section, tab for “Git for Windows”.)
Installing Git for Windows
If you are unable to use WSL 2, please use the following instructions to install Git for Windows (“Git Bash”).
- Download the Git for Windows installer.
- Run the installer and follow the steps below:
- Click on “Next” four times (two times if you’ve previously installed Git). You don’t need to change anything in the Information, location, components, and start menu screens.
- From the dropdown menu, “Choosing the default editor used by Git”, select “Use the Nano editor by default” (NOTE: you will need to scroll up to find it) and click on “Next”.
- On the page that says “Adjusting the name of the initial branch in new repositories”, ensure that “Let Git decide” is selected. This will ensure the highest level of compatibility for our lessons.
- Ensure that “Git from the command line and also from 3rd-party software” is selected and click on “Next”. (If you don’t do this Git Bash will not work properly, requiring you to remove the Git Bash installation, re-run the installer and to select the “Git from the command line and also from 3rd-party software” option.)
- Select “Use bundled OpenSSH”.
- Ensure that “Use the native Windows Secure Channel Library” is selected and click on “Next”.
- Ensure that “Checkout Windows-style, commit Unix-style line endings” is selected and click on “Next”.
- Ensure that “Use Windows’ default console window” is selected and click on “Next”.
- Ensure that “Default (fast-forward or merge) is selected and click”Next”
- Ensure that “Git Credential Manager” is selected and click on “Next”.
- Ensure that “Enable file system caching” is selected and click on “Next”.
- Click on “Install”.
- Click on “Finish” or “Next”.
- If your “HOME” environment variable is not set (or you don’t know what this is):
- Open command prompt (Open Start Menu then type
cmdand press Enter) - Type the following line into the command prompt window exactly as shown:
setx HOME "%USERPROFILE%" - Press Enter, you should see SUCCESS: Specified value was saved.
- Quit command prompt by typing
exitthen pressing Enter
- Open command prompt (Open Start Menu then type
This will provide you with both Git and Bash in the Git Bash program.
Note: If you have previously completed the carpentries lesson on Introduction to Shell on your windows computer, you would have already downloaded Git. Proceed to next step.
Once you have installed Git for Windows, either open RStudio (go to the Terminal tab in the bottom left panel, next to Console) or open Git Bash and type:
git --versionIf you get a version number as an output, you are good to go.
If you get an access denied error message, you will need to tell RStudio to use Git Bash for Terminal. Go to Tools -> Global Options -> Terminal and under Shell choose New terminals open with: Git Bash. Click Apply and OK. You may then need to close and re-open the Terminal tab (next to Console) to refresh it.
4. Check nano is working
We will be using the nano text editor in this workshop. To check that it is working, open a terminal (either Terminal on macOS, Git Bash on Windows, or RStudio terminal) and type:
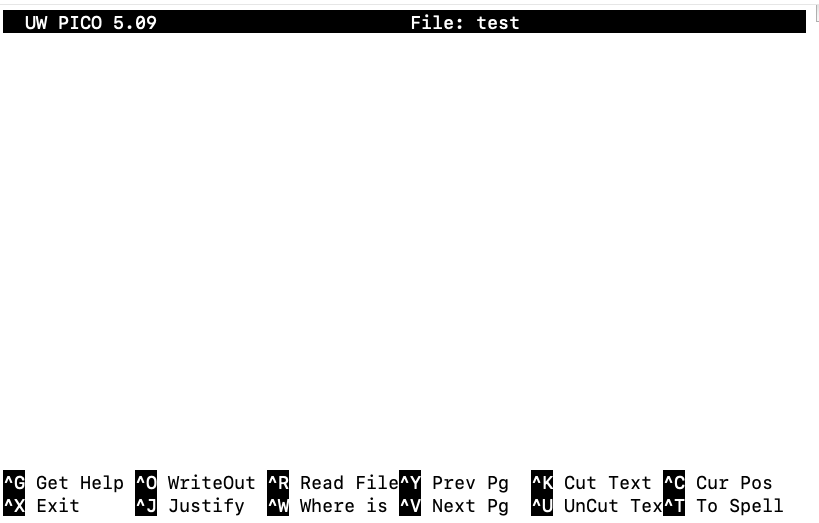
nano testIf the terminal changes to show a blank file called “test”, that looks like this, then nano is working.
You can exit nano by pressing Ctrl + X and then pressing N when it asks if you want to save the file.
If you get an error message that nano is not found, you may need to install it.
- Mac: nano should be pre-installed on macOS, so if you get an error message, you may need to update your operating system.
- Windows: nano is included in Git Bash, so if you get an error message, you may need to re-install Git for Windows and ensure that you select the “Use Windows’ default console window” option during installation (see step 3 above).
5. Make a Github account
- Go to https://github.com and follow the “Sign up” link at the top-right of the window.
- Follow the instructions to create an account.
- Verify your email address with GitHub.
- Configure multifactor authentication (see Github page on 2FA)
- Optional: Add a profile picture and modify other preferences, such as linking ORCID, in your github account.